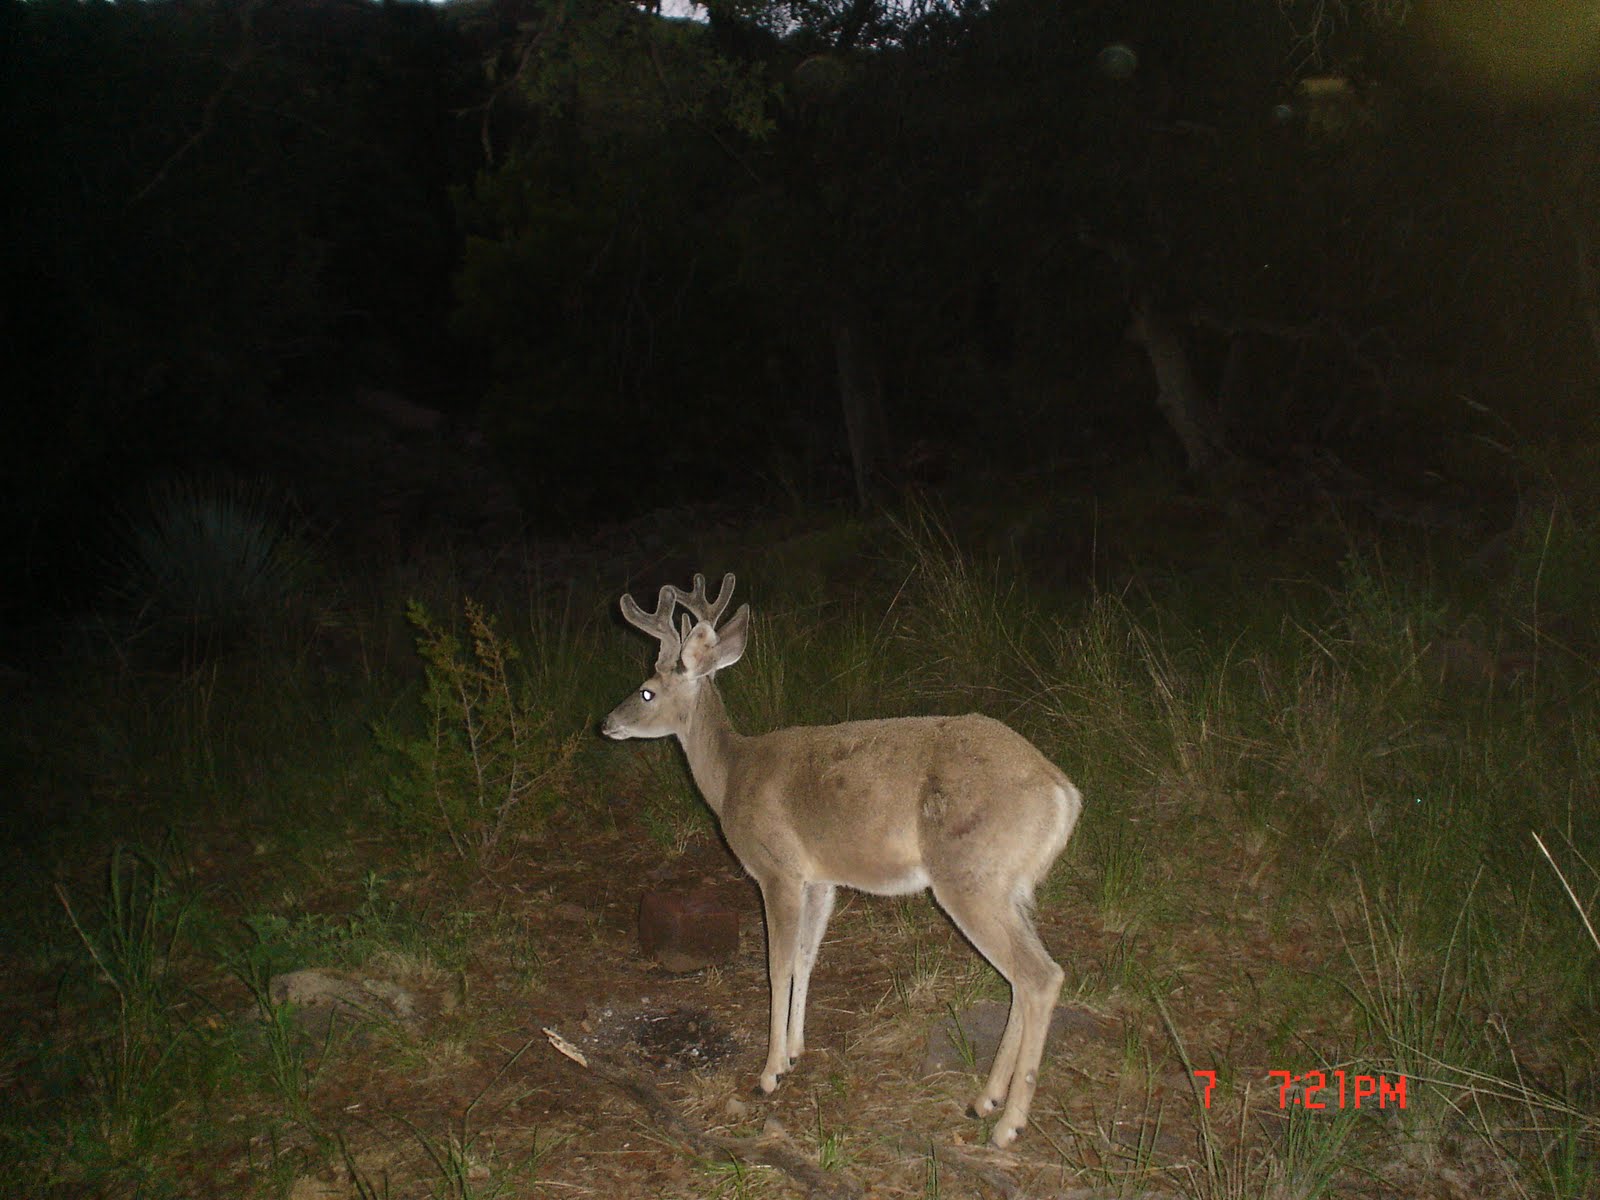
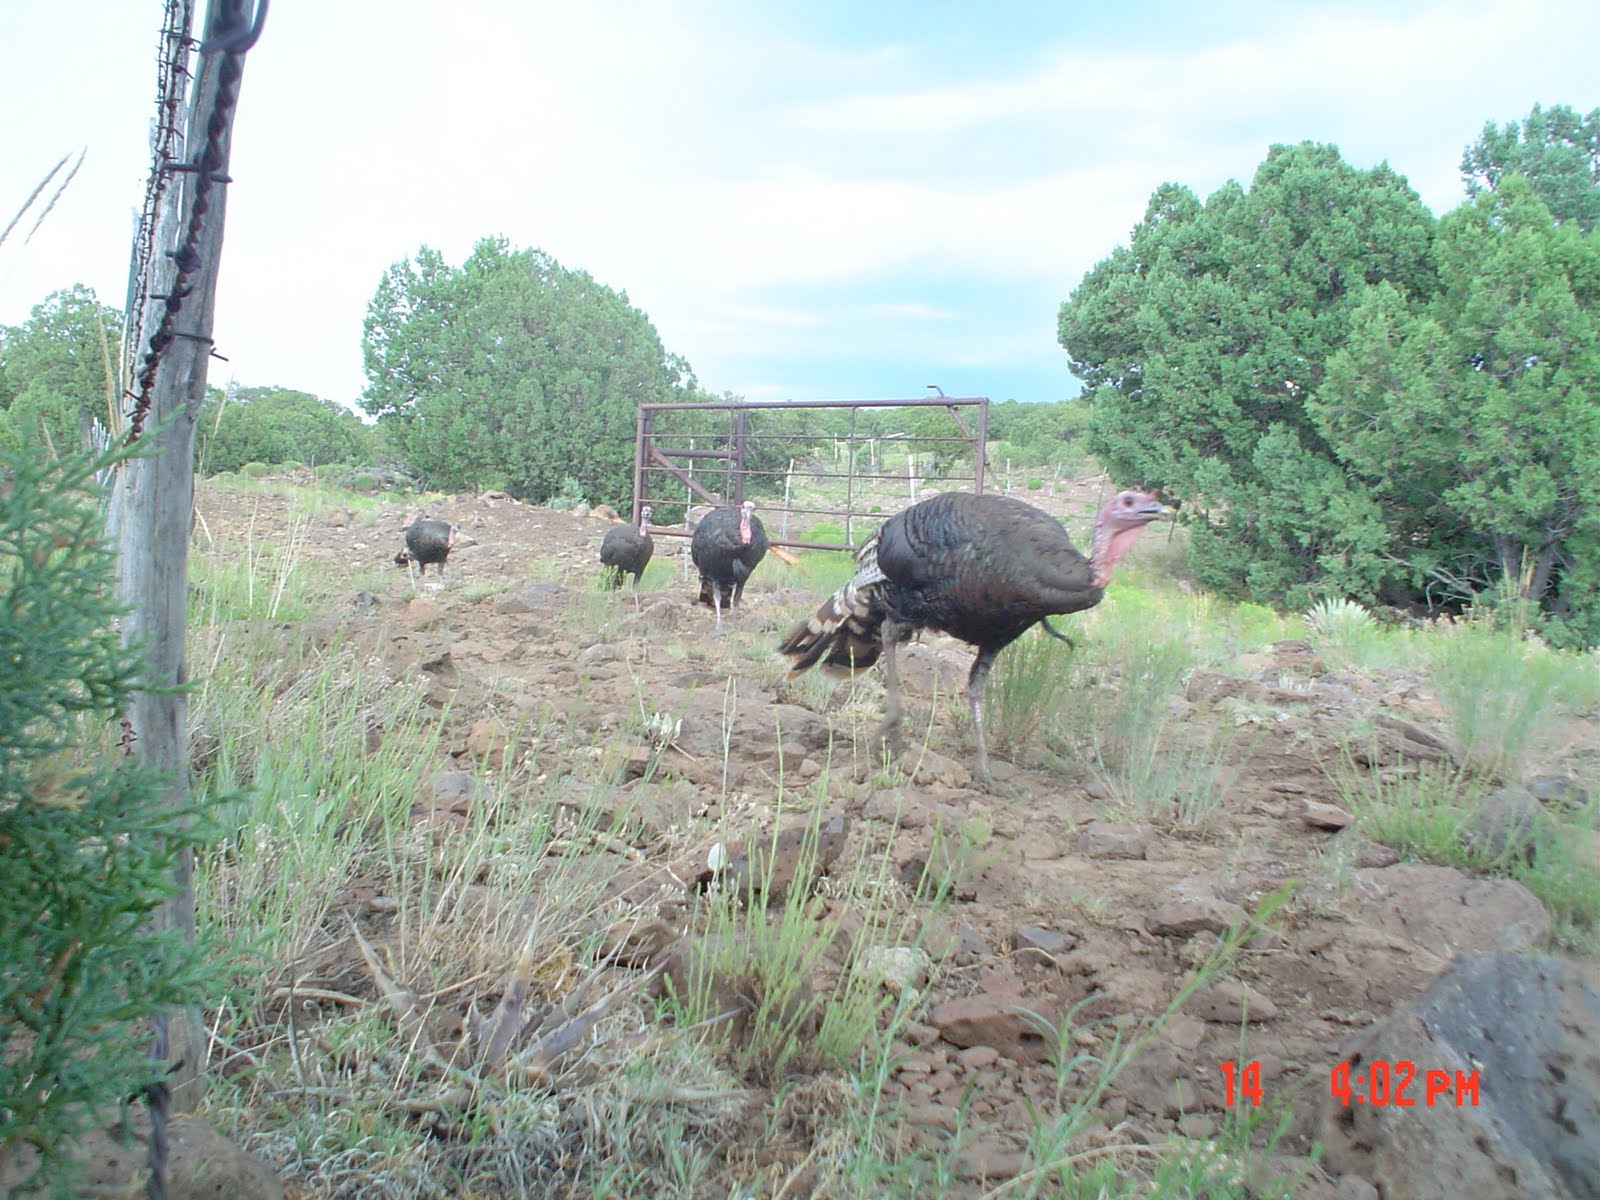
I checked the cards on a couple of cameras I had out the last couple of months and got a few pictures of this mule deer buck. He is not huge but I thought the pictures were pretty neat.
CONTRIBUTORS TO THIS BLOG
Showing posts with label Trail Cameras. Show all posts
Tuesday, December 27, 2011
Tuesday, July 26, 2011
Cool Trail Cam Picture
I went out to check a few of our trail cameras last week. When scrolling through the pictures I was amazed at this picture of a coyote and a mule deer doe sharing a drink together. Makes you wonder what else goes on when no one is watching!
Tuesday, July 27, 2010
Building a Trail Camera
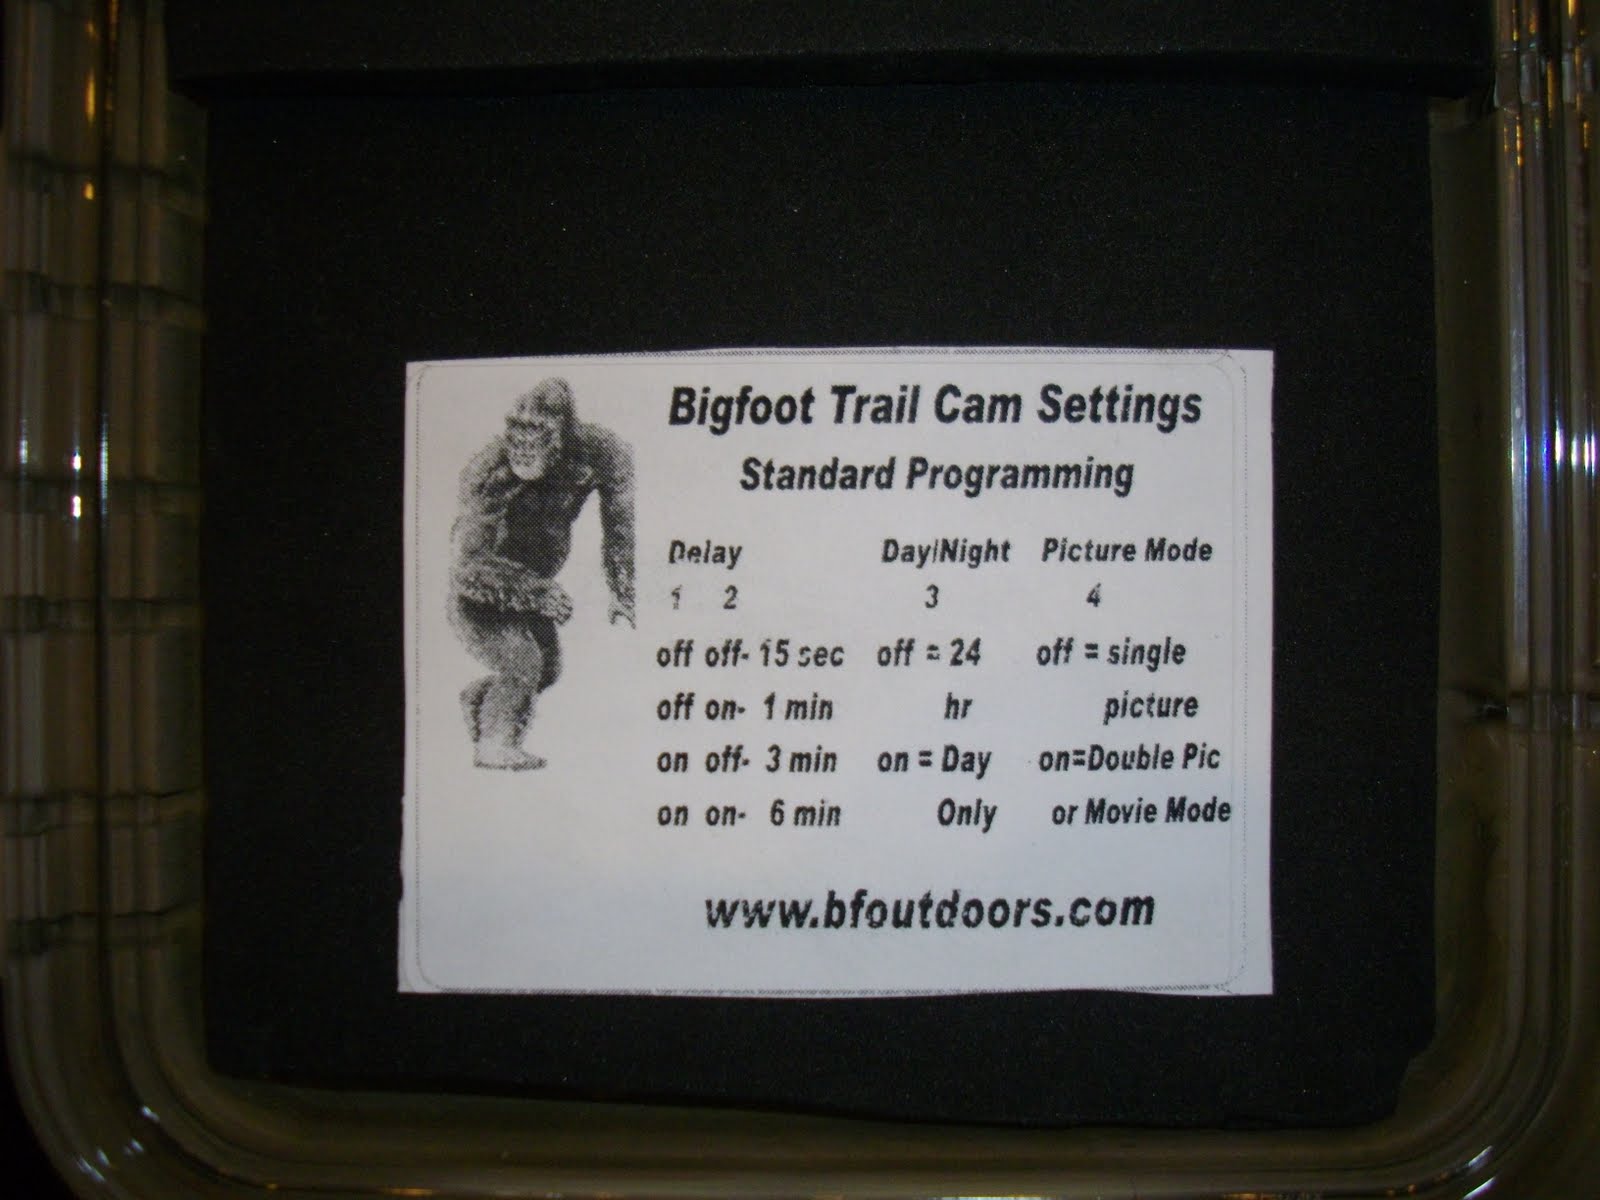
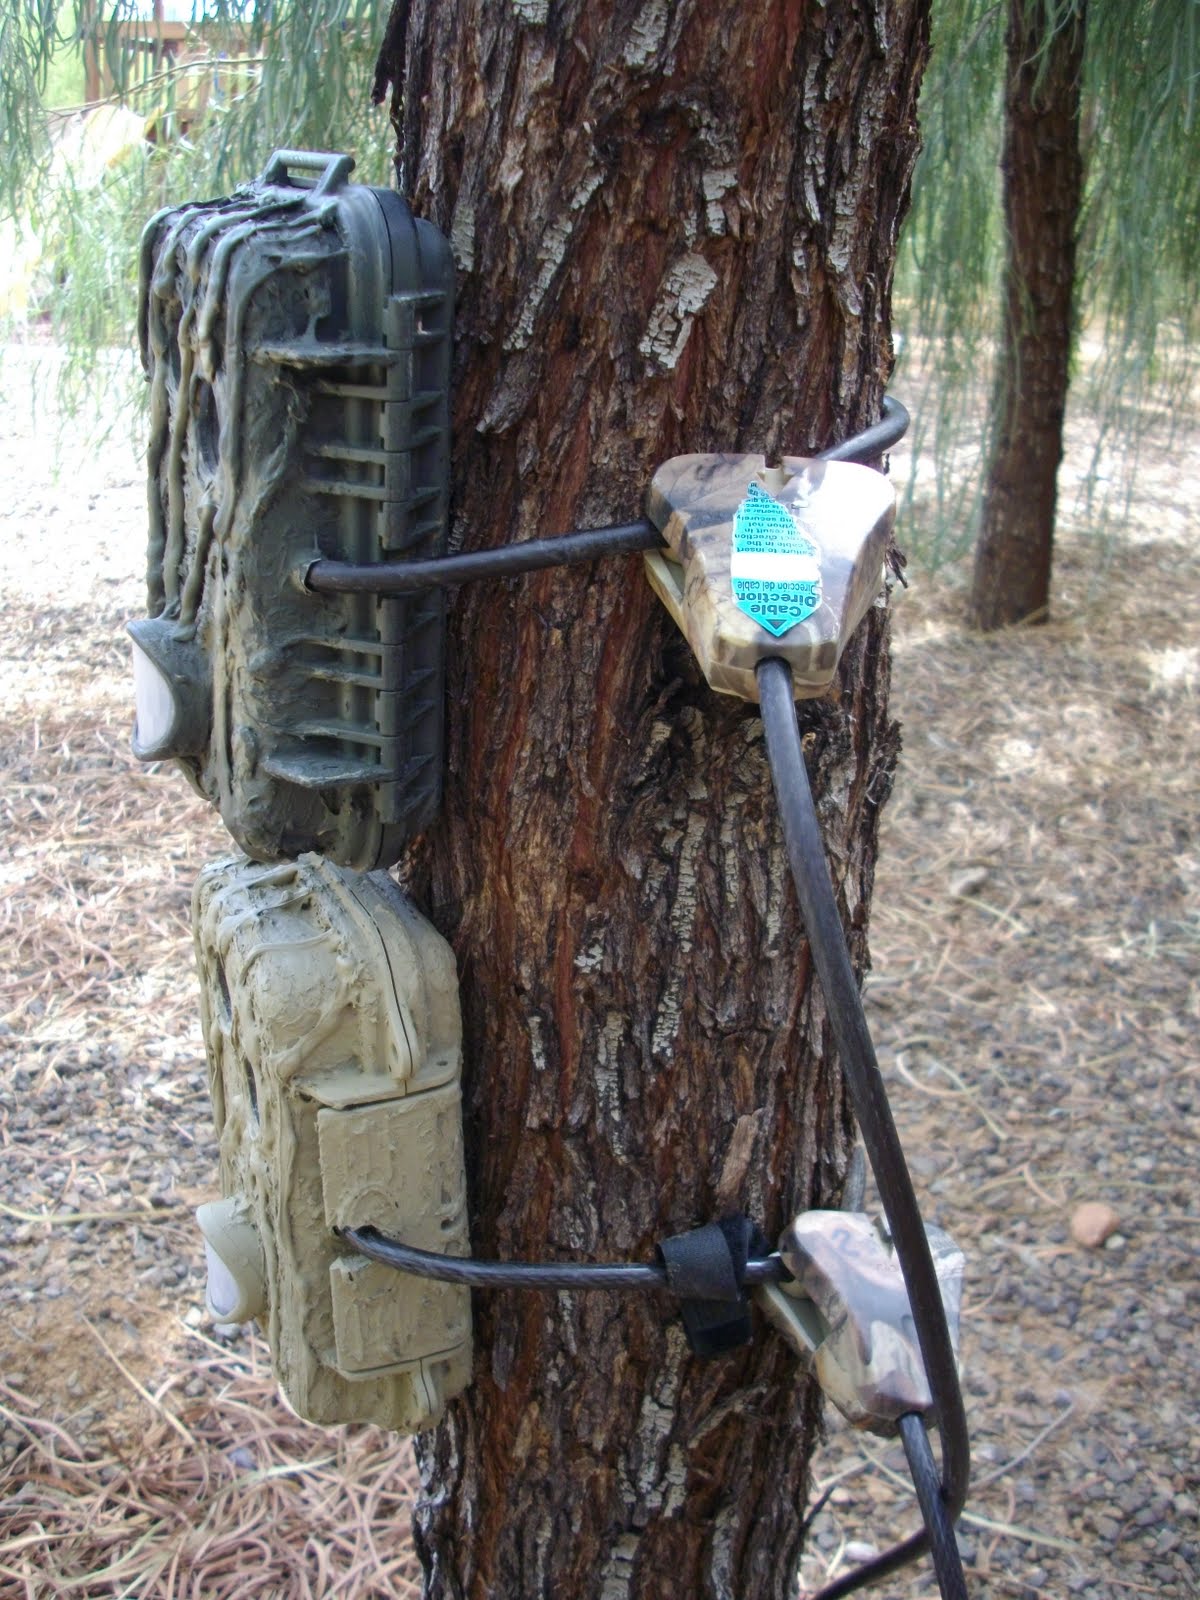
I have been building game cameras for a couple of years now. I think I have over 20 cams under my belt. I helped my brother Kirk build a couple of cameras recently and thought I would share what it takes to build your own game camera. Usually it takes me three days to complete a camera from start to finish. The first step is to purchase a camera that will fit your needs. I usually use the Sony P32 or P41 cameras. I have also used the Sony W55 but it is a little more complicated to hack (take apart the camera and wire it to a board that runs the camera). Here is a link showing how I wire the camera (Sony P32 Hack). Here are a couple of great links that tell about the different cameras and how to hack them. The first is Hags House and other is PA Trail Cams. Both these sites have some great info on them. The board I use for most of my cameras is made by BF Outdoors and is called the Bigfoot Board. Once you have your camera you will need to decide which case you are going to use. I like the Plano and Pelican cases for my cameras because they are tough and waterproof. Once I have my case I drill a 3/8" hole through it and insert a metal tube that my cable lock will go through. I epoxy or glue the tube in place. This tube also serves as a shelf for my camera to sit on inside the case. Once my tube is in place I set the camera on the shelf and close the lid. I then take a marker and mark the center of the lens and the flash on the outside of the case. I also mark the holes for the board at this time. Once I have everything marked I take the case to the work bench and cut and drill out all my holes. When my holes are drilled and cut out I glue in the glass for the flash and lens and put the screws in for the board and let everything dry overnight. Once everything is glued and dryed I like to make sure my case is water proof. I stuff toilet paper into the case and submerge the case in the sink for a couple of minutes. If the toilet paper is dry inside you are ready to move on to the next step. Once my case is water proof I put a thin coat of Liquid Nails on the outside of the case. After I have coated the case I then go back and texture the case with Liquid Nails to make it look like bark. I usually let the case dry for a full day before I paint. Once the case is dry I will spray paint the case to the color of the trees I plan to hang the camera on. Please feel free to email me with any questions if you are thinking about building your own camera @ darrcolburn@aol.com
Advantages to making your own Game Camera
1. High quality pictures (3.2-12 Mega Pixells)
2. Quick trigger speed 1-2 seconds
3. Sensitivity adjustments for less false pictures
4. Long Battery Life
5. If something breaks you can repair or replace that part
6. Secure with cable lock holding case closed and to the tree
7. Lots of settings on the board
8. Reveiw pics on the camera screen
Labels:
Darr Colburn,
hunting gear,
Trail Cameras
Saturday, November 1, 2008
Darr's Trail Cam
My hunting partner, Darr Colburn, wanted to post some info on trailcams so here it is, Enjoy!
Darr writes, "A few months ago I came across a few web sites that were talking about homemade trail cameras. I did some research and decided to try building one for myself. My first build took me a couple days to complete. I have been very pleased with my efforts. The project cost me around $150 and I have a camera that is comparable to the more expensive commercial trail cameras available. Building your own camera has several advantages. The size of the camera is typically smaller than a store bought unit. The home brew cameras also usually offer more settings than the commercial trail cameras. The homebrew cameras also can be made to be very secure and take great pictures. If you like to tinker around during the off season try and build your own trail cam but be prepared to get addicted!!!!! The first step is to purchase a camera. I have built all my cams with the Sony P41 or P32. They are easier to hack and can be purchased on e-bay for $40-$100. There are several companies that sell boards to control your camera. The two I really like are available on line at http://www.whitetailsupply.com/ and http://www.snapshotsniper.com/. I would recommend ordering a kit from Whitetail Supply for your first attempt. The kits run $92-$125 and include everything you need to put together a homebrew trail cam (except the camera). There is also a great web site that tells you everything you need to know about building your own trail camera http://www.hagshouse.com/. If you have any questions or need some advice for your first build feel free to contact me @ darrcolburn@aol.com Happy Hunting!

Darr writes, "A few months ago I came across a few web sites that were talking about homemade trail cameras. I did some research and decided to try building one for myself. My first build took me a couple days to complete. I have been very pleased with my efforts. The project cost me around $150 and I have a camera that is comparable to the more expensive commercial trail cameras available. Building your own camera has several advantages. The size of the camera is typically smaller than a store bought unit. The home brew cameras also usually offer more settings than the commercial trail cameras. The homebrew cameras also can be made to be very secure and take great pictures. If you like to tinker around during the off season try and build your own trail cam but be prepared to get addicted!!!!! The first step is to purchase a camera. I have built all my cams with the Sony P41 or P32. They are easier to hack and can be purchased on e-bay for $40-$100. There are several companies that sell boards to control your camera. The two I really like are available on line at http://www.whitetailsupply.com/ and http://www.snapshotsniper.com/. I would recommend ordering a kit from Whitetail Supply for your first attempt. The kits run $92-$125 and include everything you need to put together a homebrew trail cam (except the camera). There is also a great web site that tells you everything you need to know about building your own trail camera http://www.hagshouse.com/. If you have any questions or need some advice for your first build feel free to contact me @ darrcolburn@aol.com Happy Hunting!

Subscribe to:
Posts (Atom)